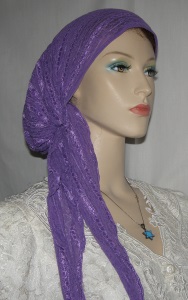
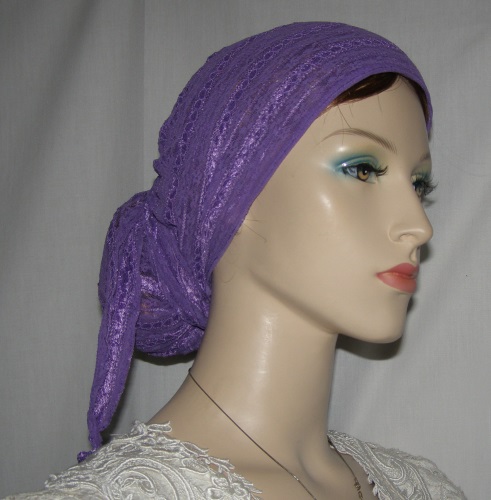
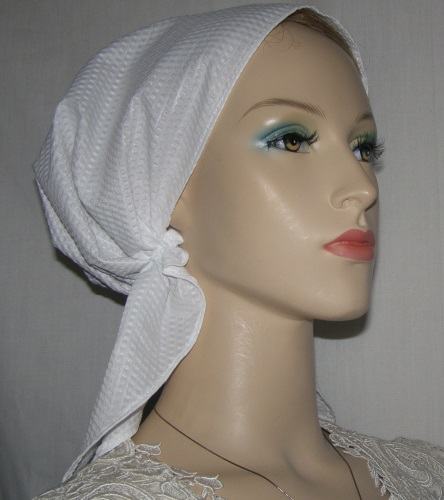
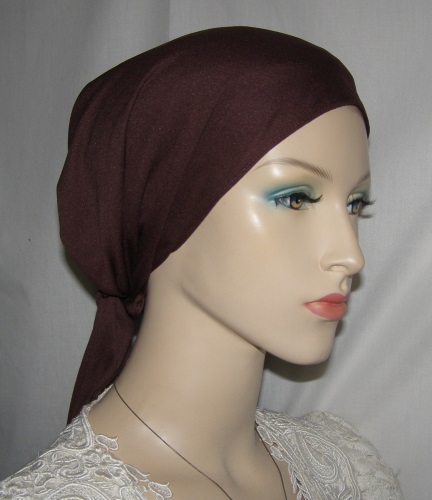
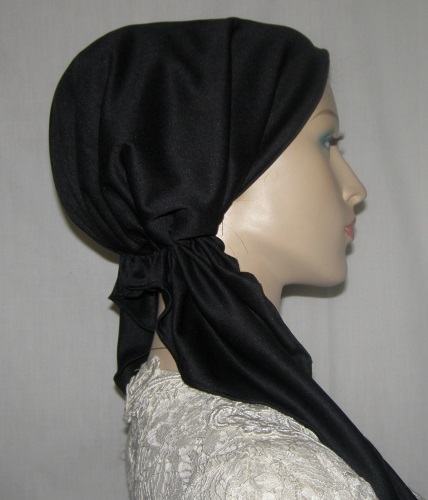
Turquoise Poly Blend Pre-Tied Snood
Easy On and Easy Off!


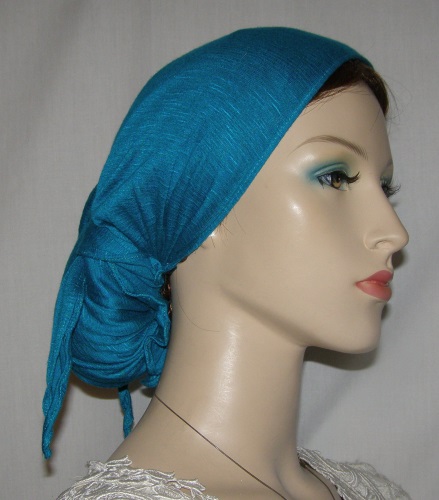

Ideal for modesty, tzniut, bad hair day and perfect for women undergoing chemo, or dealing with alopecia, or trichitollmania. A very comfortable hair covering to use during bed stay due to giving birth or illnesses.
- polyester blend fabric
- pre-tied style
- handmade
- machine wash & dry
PT1 - $16.99